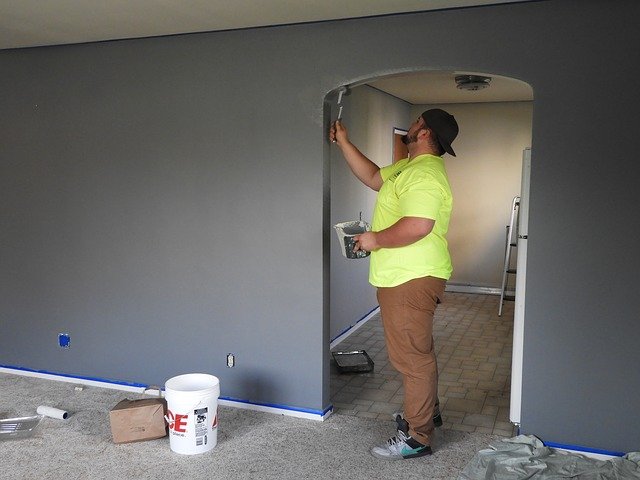
Painting an old wall? It’s important to get the surface ready for repainting, so you get the best possible finish.
A lick of paint added to any surface enhances its aesthetic, but only if the finish is well executed. The key to a perfectly painted wall is preparing it well before you begin applying fresh paint. You can add paint to any surface but if the paint underneath is chipped, peeling or rough it will show through when the new paint has dried.
Whilst this may not be such an issue for the fence outside or areas that aren’t very visible, for highly visible areas like the living room, it’s OK to desire a better finish. Ideally, you’ll have a smooth, clean, matte surface to apply your new paint to.
How To Prepare Your Surface For Painting
Before you begin, it is a good idea to consider whether or not you can simply fix up the odd spot of wall before painting it all. In some situations where there is only one peeling patch, you can just scrub down the areas that lift, leaving a smooth surface. The results won’t be perfect but this is the quickest solution. If you are a perfectionist or there are lots of layers of paint, you’ll want to not only prepare the surface, but fill any knots or holes too.
Here’s a quick set of instructions to help guide you through the process:
Protect
If you are going to prepare a wall inside your home it is a good idea to protect your flooring and furniture from the renovation. Consider placing your furniture and soft furnishings into your cheap self storage unit with storing.com. You should then place plastic sheeting over the floor to protect the flooring.
Scrape
Scrape the walls using a cheap wallpaper scraper so that any loose paint comes off. Try to look closely at the paint when doing this so as not to miss any loose pieces.
Brush
Using a wire scrubber move around the surface in circles getting as much debris off as you can.
Fill
Once the surface is smooth you can then fill the wall with the appropriate filling material depending on what the wall is made out of, and what you prefer to use.
Dry
It is important you leave the filler to dry in full. A couple of hours should be fine but, overnight is always best if you can.
Sand
Using a fine sandpaper you can now sand down the wall so that it is smooth. The idea is to level out the bare wall with any remaining paint.
Prime
Add primer to the surface to prepare it for the paint. It helps create a more blended finish eventually so it is worth the extra step.
Dry
You’ll want to allow the primer to dry in full before you paint the surface. Follow the instructions on the primer as to how long to leave it to dry.
Paint!
Now your wall is ready to paint! Apply as many coats as needed, leave it to dry and then you’re ready to get your furniture back out from cheap self storage.
Painting any surface is a quick and easy way to make it look instantly better. By putting in the work suggested above you get to not only enjoy a newly painted wall, but one that also has a great finish that lasts.


